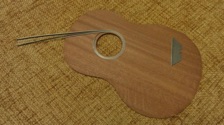
MAKING A UKULELE FROM A KIT

(placeholder)

WELCOME          LUTHIERY

The box of parts.
The box of parts.
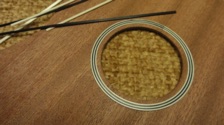
The first task is to fit the purfling into the channel around the soundhole.
The finished rosette.
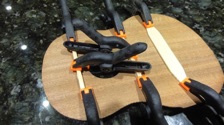
The front requires two braces either side of the soundhole.
As the fretboard will not cover the joint, special care is needed with the inlay.
The bridge block is glued into position.
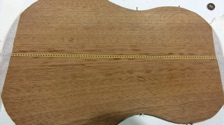
The first major modification was to cut the back in half and re-join it with a decorative inlay.
The addition if the inlay requires additional strengthening along the joint.
The joint brace then had to be cut to take the two braces which have a 20’ radius curve.
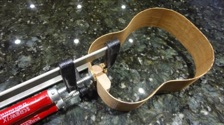
The neck block is glued into place joining the two sides together.
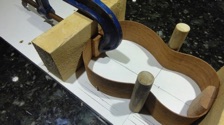
The second major modification was to cut the sides at the end block and re-join with an inlay.
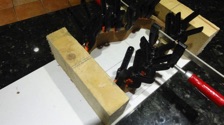
The willow linings were then glued to the sides. This increases the gluing area for the front.
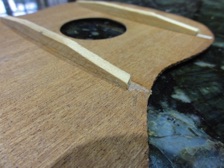
The braces on the underside of the front are cut to fit between the linings on the sides.
After the glue had dried the body is removed and the front trimmed flush with the sides.
The body is returned to the jig face down and the sides prepared to receive the back.
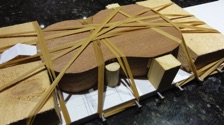
Great care must be taken when fitting the curved back as the sides have to be carefully shaped.
The top is then glued into place whilst being held in the special jig which holds it securely.
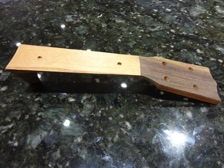
Holes are drilled in the head for the tuning machines and the neck is finished.
The fretboard needs to be narrower than the neck to account for the white edging.
Beginning fretting the fretboard
After the fretboard is fretted, the binding can be glued onto the edges.

Click on a picture below to begin a slide show

(placeholder)